In keeping with what seemed to have become a theme last (Last?! Is it Fall already?!) Summer, I went ahead with something I'd been seeing all over Pinterest: unpaper towels. I could link up with about a hundred bloggers who have created the reusable towels, but I have to say, my favorite tutorial has to be Lilly's at Cottontail Babies. I'll explain exactly why a bit later.
To get the party started, I ran to JoAnn's with coupon in hand and purchased 1 yard each of flannel and terrycloth. Most of the tutorials I checked out suggested a pretty, decorative flannel and a coordinating terrycloth. I just didn't see the point of choosing a cutsie fabric since the unpaper towels would be stored underneath my kitchen sink. It would make more sense to pick out something specific if they'd be displayed on the counter. I picked the least expensive terrycloth I could find (on sale for $2.50/yard) and a reasonable flannel for $7.99/yard. (I used a 60% off coupon for that.) I walked out of the store about $6.00 poorer.
When I got home, I cut the fabric into 11-inch squares. I got 9 squares of each out of the fabric I had.

Then, I pinned each of the pieces of terrycloth to a piece of flannel.

Then, I sewed along the edges with about a 1/4-inch seam allowance. I don't have a picture of this, but I ended up leaving the edges raw. (As opposed to sewing them inside-out and turning them inside-in for a cleaner, more finished, look.) I figured since these would be kitchen towels that would be stored under the sink, it didn't really matter what they looked like.
I also sewed a big X on the towel (from corner to opposite corner both ways) so that when they were washed, the sides wouldn't come apart.
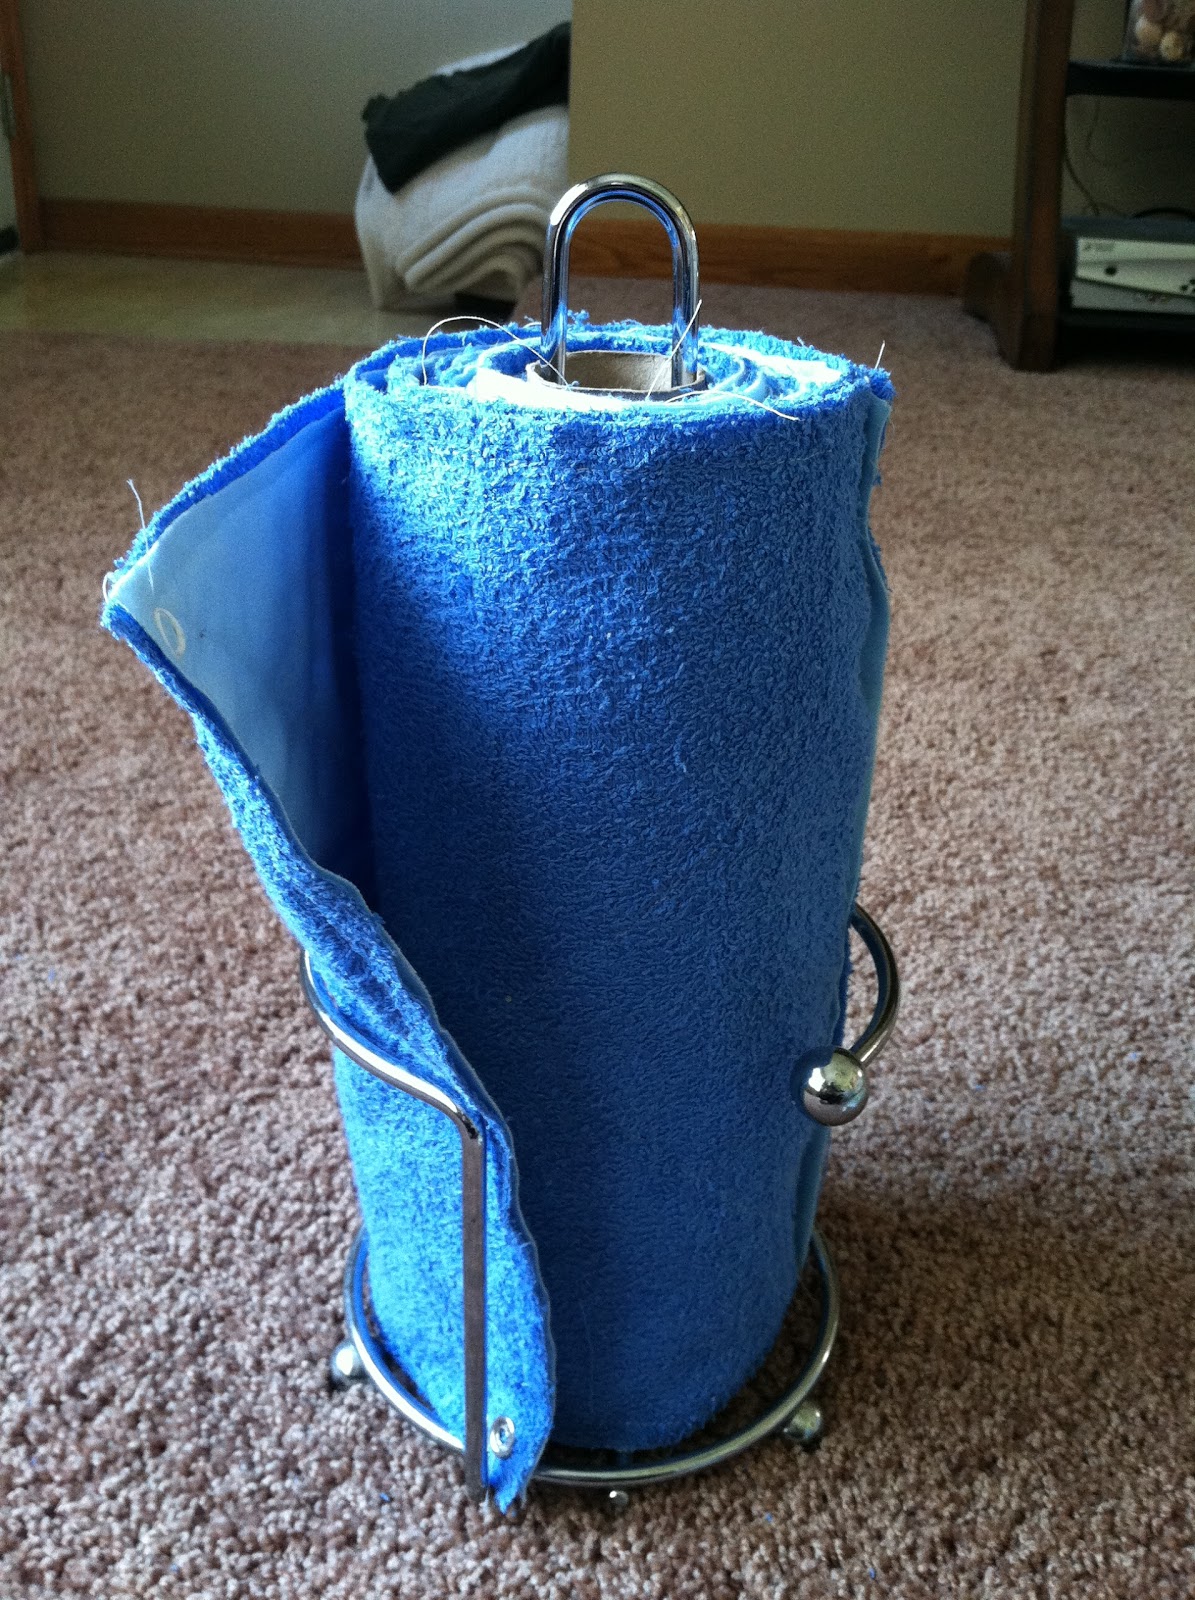
For my unpaper towels, I recycled a used paper towel roll. Some tutorials suggest making a roll out of plastic, but my way is free! I simply secured a snap using the same fastening method to the top and bottom of the cardboard roll. Check it out.

Sweet, huh? Finally, I rolled the pieces of fabric together for a $6 unpaper towel roll that can be used for years!

Back to why I really liked the Cottontail Babies tutorial. In short, she was honest. To wrap up her post, she admitted a few of the very things I was thinking on my way home from the store:
- It's going to take some effort on my part to snap them back together after washing them. I hope I don't end up just folding them and stacking them under the sink.
- I could have skipped the sewing part and simply fastened snaps to cheap washcloths instead. But they're durn cute.
- This could have been yet another use for upcycled T-shirts. It would have been free. I only paid about $6 for the fabric, though, so if I use them like they should be used, they'll end up costing pennies over the next few years.
Even though all this is true, the project was fun and it's super cute. I think it could be a pretty cute (and inexpensive) housewarming gift! Let me know what you think!
P.S. If you enjoy reading my blog, please follow me by clicking "Join this
site" and/or entering your email address over to the right of the page. If you
want to see what projects I have worked on or plan on working on in the future,
follow me on Pinterest by clicking the link to the right! If you like it, pin
it!
 |
| I'm linked up with DIY Showoff |