I actually got two projects done this week. I stained a small wooden table that I got for next to nothing and I stained a wooden library file cabinet that I craigslisted for $50. Actually, I got it for free since my parents gave me the money for it!
My original pinspiration was this project. I was looking to gel stain something since I'd been hearing so much about. That didn't work out so well. Not wanting to make another trip, I purchased a stain that's somewhere between a gel stain and a more traditional stain. I went with Minwax's PolyShades in Mission Oak (satin finish). The PolyShades line provides stain and polyurethane in one step.
This is what the file cabinet looked like before I began:
 |
| This is the cabinet part. It's not really on wheels -- it's perched on a creeper. |
 |
| These are the legs. |
First, I had to take the hardware off the cabinets. I tossed around the idea of adding new handles, but everything else had to remain intact for utility purposes, so it just made sense to keep things as they were. The process was much like the process for the small wooden table: sand, clean, stain, wait, rub with steel wool, dust, stain again, wait.
During some of the wait time, I was able to spray paint the legs and hardware. I used Rust-Oleum's Silver Hammered only because I had it on hand from spraying some floor vents. I sprayed two coats because the first one was very uneven. I kind of already knew, but this project confirmed that I'm a very bad spray painter. I don't know how this is possible, but I am. I'm very heavy-handed in some areas and the extreme opposite in other areas. I know two coats are typically recommended, but it was bad after the first. Luckilly, it came out pretty well after the second coat.
After waiting the minimum amount of time the can of stain recommends, I reinstalled the hardware onto the drawers. Rich and I lugged each piece into the house very carefully. Once inside, Rich reinstalled the legs to the bottom of the cabinets. We then played around with where to put the cabinet. We liked it under the window, but then we would either have to eliminate one chair (which we're considering anyway) or put one of the chairs on the opposite wall (which didn't suit my fancy). We finally decided to keep it in the spot we originally planned: under the stenciled wall art I made.


 |
| Why does it look like I took this picture from the ceiling? |
 |
| Here's the view from the door. |
 |
| So far so good. I borrowed from the living room. |
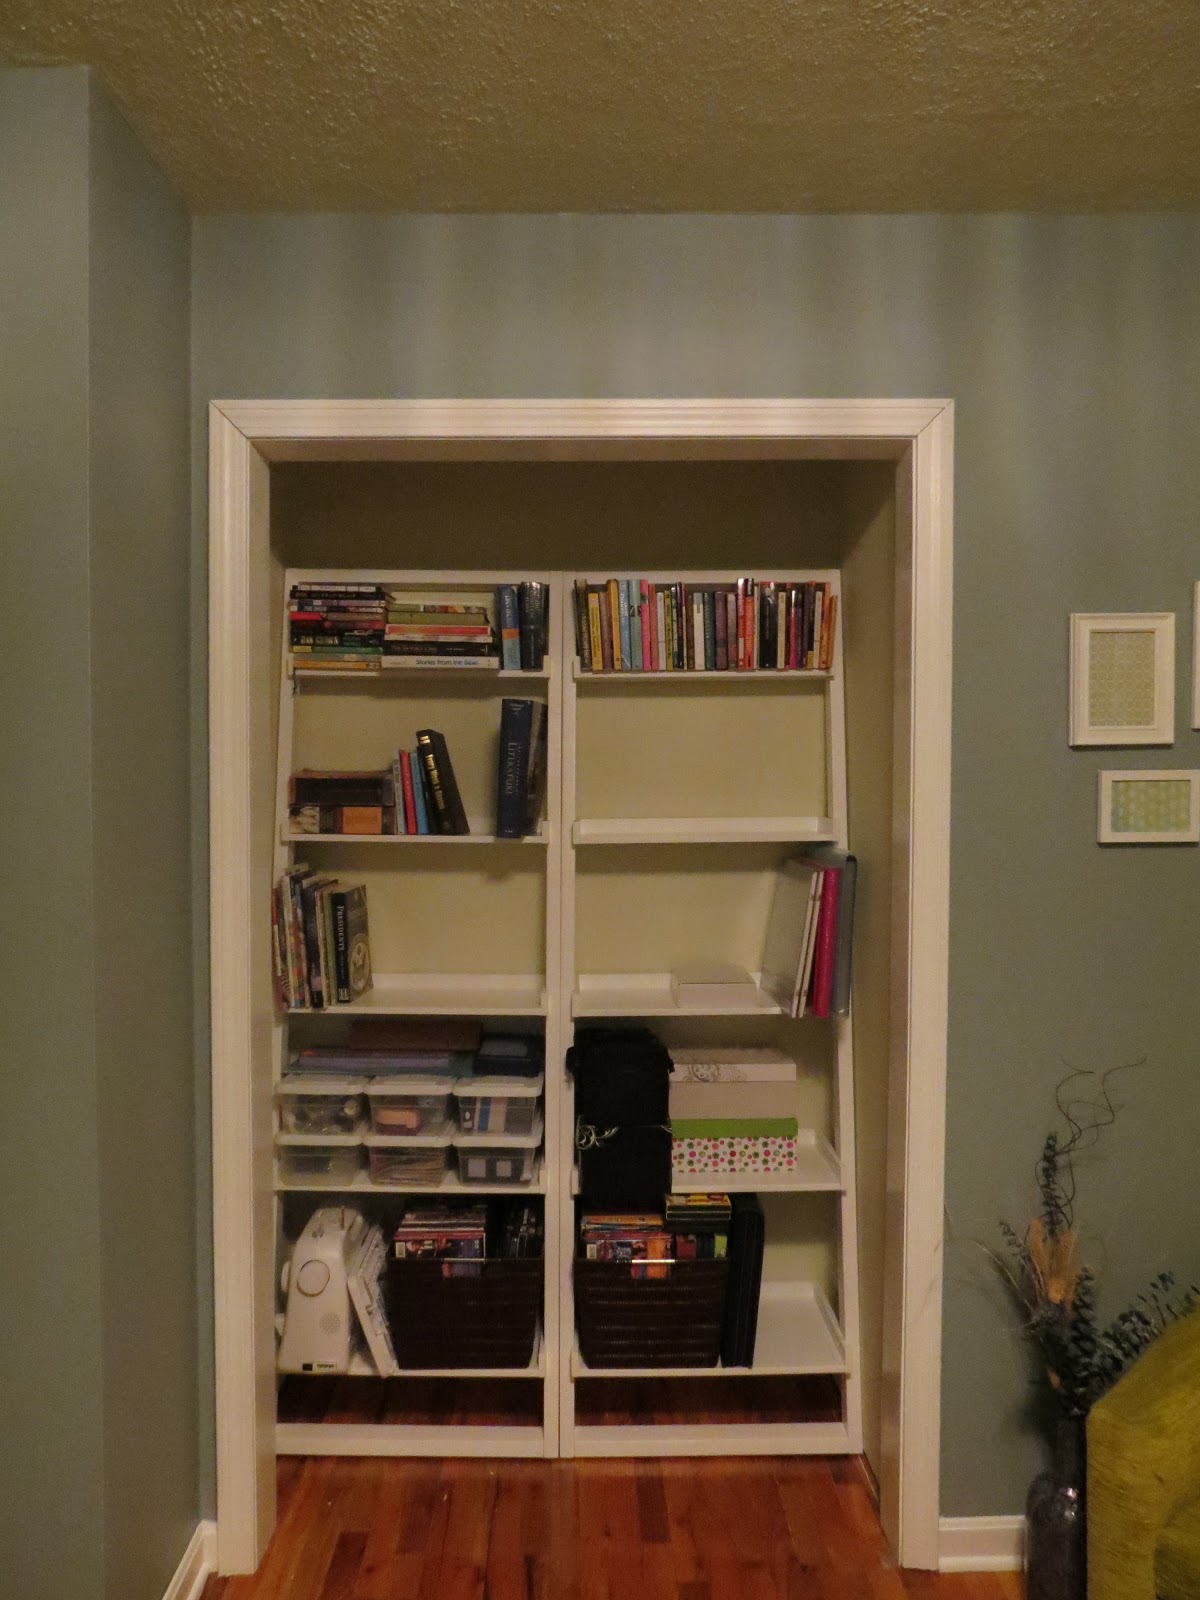 |
| The closet -- We purchased 2 of the same bookcases as the ones on the opposite wall in the desk area. They fit perfectly in that small space. |
Now that the office/craft room is basically complete, what do you think? I think I'll leave well enough alone for a while, but I might spray paint the plastic desk chairs. I'm thinking either a dark teal or a mustardy yellow. Good idea or bad idea? Do you have a preference either way?
I you decided to participate in the challenge with me, please add your link by clicking on the blue button below. Don't have a blog? Post a picture of your project on my facebook page and I'll post it here!
P.S. If you enjoy reading my blog, please follow me by clicking "Join this site" and/or entering your email address over to the right of the page. If you want to see what projects I have worked on or plan on working on in the future, follow me on Pinterest by clicking the link to the right!
I'm linked up with:
I'm linked up with:
 |
| Beneath My Heart |
and
 |
| DIY Showoff |
That file cabinet with legs is such a cool find! Love the finish. What a great space to get all crafty!
ReplyDeleteThanks, Carrie! I do think I hit the jackpot on that file cabinet. I wanted something different than the usual metal two-drawer. I'm gonna head over to your blog to comment on those super cool lamps!
ReplyDeleteP.S. Thanks for participating with me. It's way more fun with two. ('Cause I think that's about all that we're gonna get. Ha ha.)
They look great Kit Kat.
ReplyDeleteMan those legs look like they were put on by a professional....this Rich fella you talk about must be a master craftsmen!!!
ReplyDeleteYeah, yeah, yeah...
ReplyDeleteWow, that's such an awesome transformation! I would love to find a similar cabinet to use in my office. Great job!
ReplyDeleteThanks, Kathleen! I know I already told you that we're both teachers, but I just realized we share a name too! Kathleen is my given name...I just go by Katie! :) Thanks for stopping by and checking out the blog!!
Deletecheck out this page hipster blog website best online casino
ReplyDelete