Our front window has always been a design dilemma for me. For one thing, it's huge. Ginormous, really. Also, it is fashioned with...wait for it...vertical blinds. Ugh. What is this, a doctor's office? But what's a good solution? While there are many options, I have yet to figure out the perfect one.
Before getting Carly, I toyed with the idea of putting a few arm chairs and maybe a table in front of the window. I also really liked the idea of a long bench that offered extra seating. Once we adopted Carly and made the decision that we wouldn't let her on the couch, I thought she should have something comfy to lay on too. As a bonus, she would get to look out the window and go crazy staring at all the rabbits lurking on the other side. Pesky wabbits.
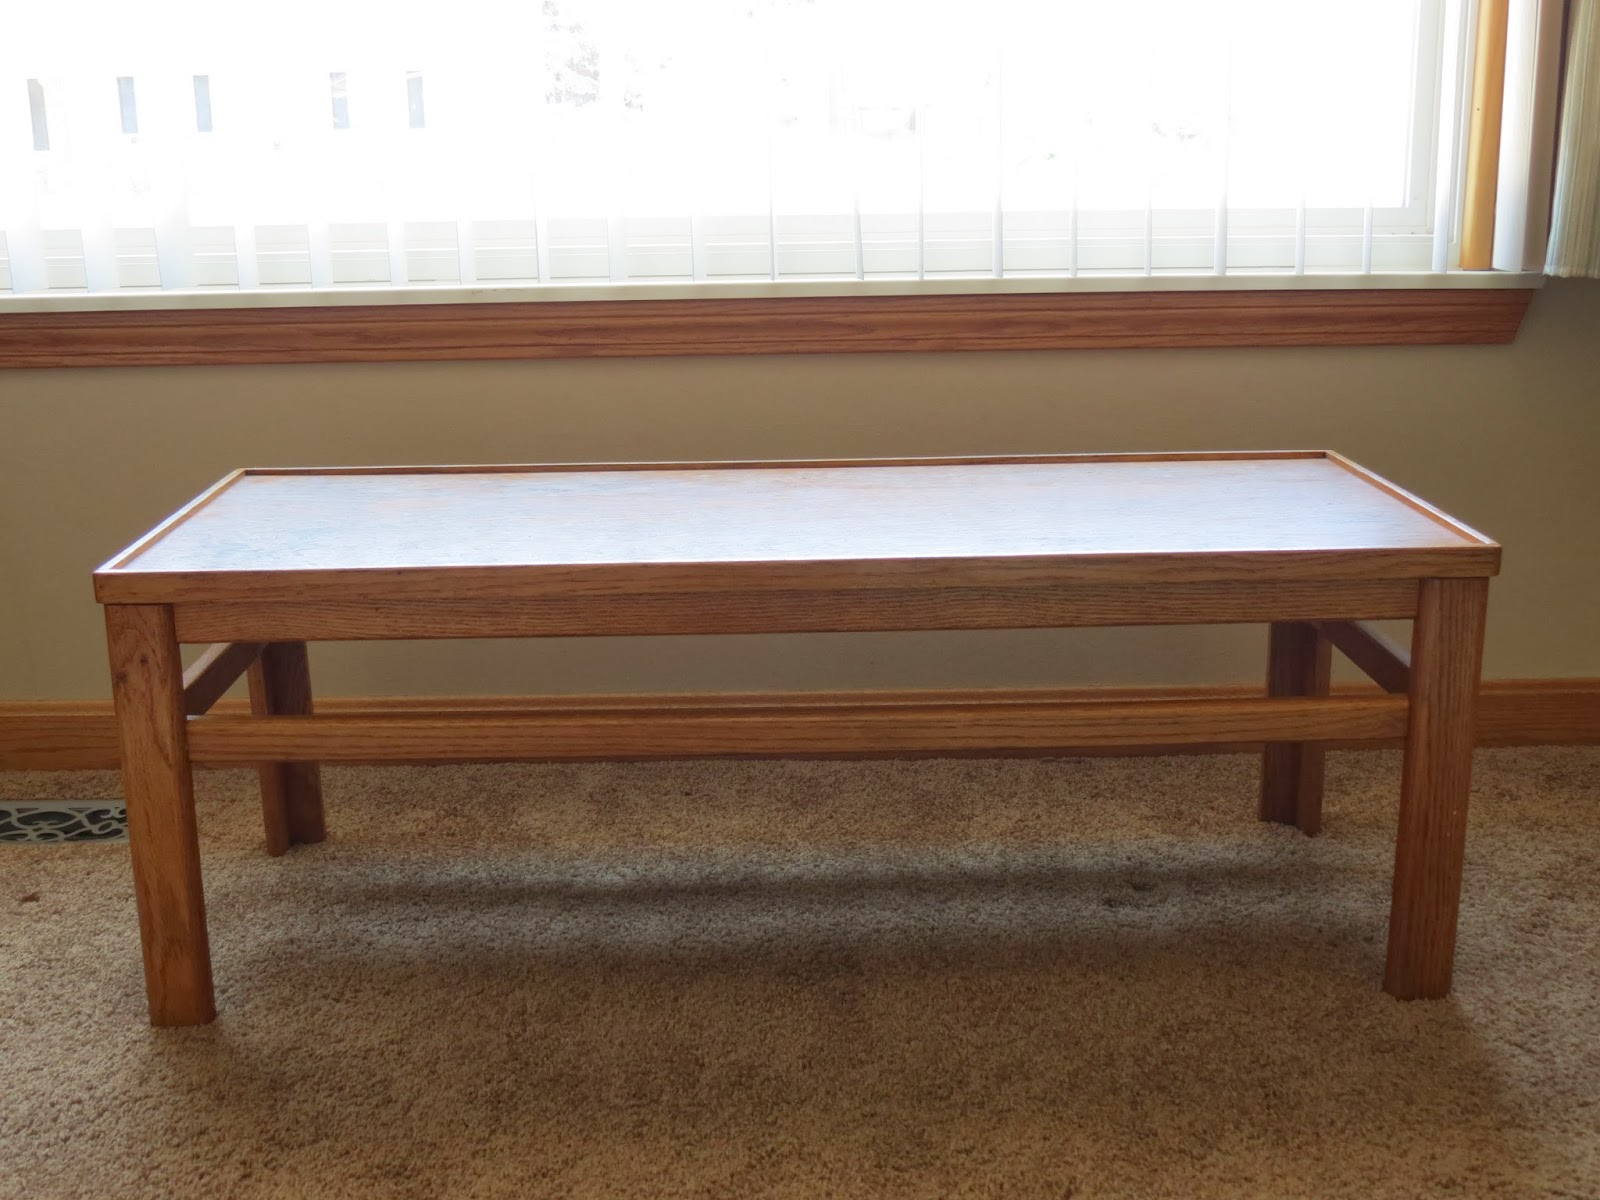
I made a trip to one of the local Salvation Army stores and quickly found exactly what I needed: a small and basic wooden coffee table. I think I paid a little more than $20 for it.
 |
| She's really excited about her new bench. Can't you tell? |
After securing
After getting my loot home, I enlisted the help of my favorite husband, Rich, to help me pry the table top off the base. There were several screws involved which were pretty easy, but the thing was also glued down. Once we got it off, I used a marker to trace along the outside edge of the table. Then, I used a serrated bread knife to cut that baby down to size.
Next, I laid the still-not-ironed fabric flat on the floor face down followed by the batting followed by the rectangular cut of foam followed by the table top face down. Before laying the foam or table top on my fabric, I made sure to keep them in line with the pattern on the fabric. It's hard to see in this picture, but I could see the pattern through the back, so it was pretty easy in this case.
After folding the batting and the fabric over the sides for a rough-measure, I cut the batting so I had enough to wrap and staple. Then, I cut the fabric about an inch and a half wider. Because the pattern on my fabric was pretty linear, it was easy for me to cut a straight line.
I wrapped the batting around and used a staple gun to secure it in several spots. As you can see, I wrapped it kind of like I would a gift. I tried a few different ways, but I thought this looked the best.
Using the same gift-wrapping method, I wrapped the fabric around and folded the longer edge inside of the batting to give it a more finished look. Again, I stapled in several spots to make sure it was secure. In order to smooth out the many wrinkles, I just made sure to stretch it a bunch before each staple, always making sure to keep it lined up nicely.
Before reattaching the table top, I sanded and stained the legs with Poly Shades Mission Oak, the same color I used on the library file cabinet I worked on a while back. I used the same method this time -- sanded, stained, rubbed with steel wool, stained, let dry for 24 hours.
Finally, using the original holes and screws, my darling husband secured the new bench top into place.
This picture was taken the day we finished it, so you can see the wrinkles really weren't a problem in the end. I really do need to get in the habit of ironing, though. This project sure didn't teach me any lessons.
As you can see, Queen Carly really enjoys her spot on the thrown. Check out the dog-nose-window behind her. She's regal and she's artistic. We got really lucky with this one.
And because I can't resist, this:
All in all, I spent about $75. Considering similar items often cost $150 or more (I've seen them at as much as $699), I'm happy with the outcome. Plus, I can't really put a price on that cute little sleepy face.


No comments:
Post a Comment
Tell me what you think...